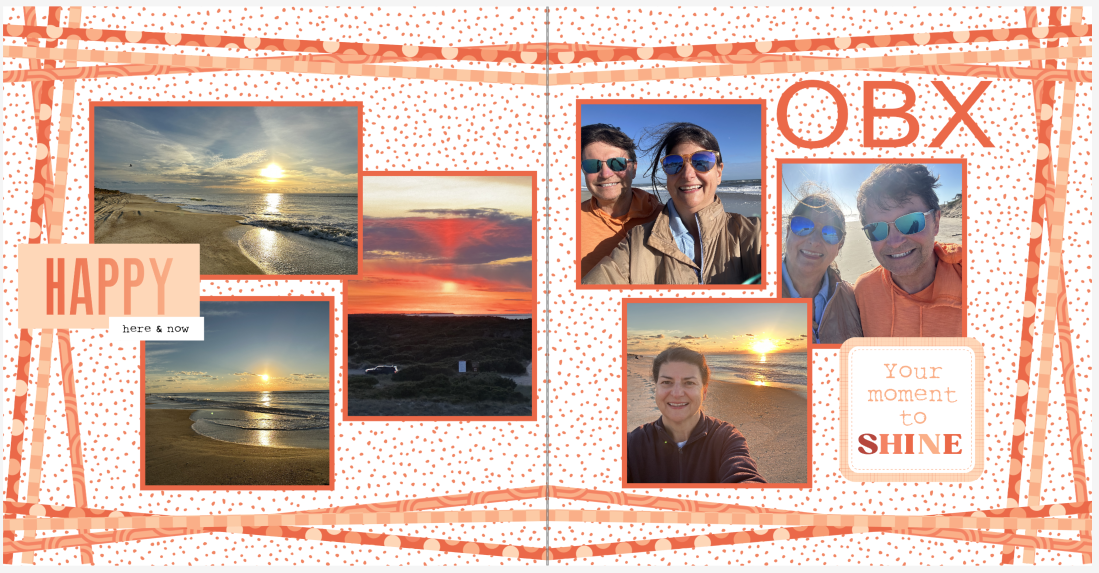
Here’s a quick and easy way to create a page that looks like you spent a lot more time than you did.

This page is adapted from a Pixels to Pages Bright Idea which was designed for use on digital scrapbook pages in Forever’s Artisan Software. I created this paper version using Creative Memories scrapbooking supplies. It is a great way to use up some scraps of leftover paper. I frequently cut ¼ inch strips off the sides of my papers to layer on top of a base paper and create a frame (see blog post November 11, 2026). You can use these or follow the directions and start from scratch.
Supplies:
· 12 inch trimmer (optional decorative blades)
· One sheet of 12” x 12” designer paper – I used the Totally Tonal Pumpkin Paper Pack
· 3 strips of paper measuring 1 inch x 12 inches (use three different colors. If making a double page layout, start with 3 strips measuring 1 ½ inches x 12 inches
· Repositionable Tape Runner
Directions:
· Place your designed paper on a scrapbook album page if you are using one.
· Cut each of your 3 strips of 1” x 12” papers into 4 pieces measuring ¼ inch wide. If making a double page layout cut the strips into 6 pieces measuring ¼ inch wide
· For each border use one strip of each color
· Adhere 3 strips (1 of each color) on the left side of the designer paper so they are slightly angled and overlapping. Repeat this one all 4 sides of the page if using one page.
For a two page layout, don’t add the border to the right side of the first page. Then add matching borders to the top and bottom and right side of the second page.